
So you’re cottoning on to how fun, lucrative and flexible voice work is, and you want to get on the gravy train before it’s too late. However, you’re not sure where to start… Well luckily for you, I’m here to help. It all begins by setting up your basic voice over studio.
By the end of this article you will have a clear idea of how to set up a home studio for voice over and everything you need to get started as a voice over artist from your your bedroom/spare room/office/bathroom (wouldn’t recommend it).
I’ve broken this page into the seven core elements that make up a modern home voice over studio. The first five are the essentials and the last two are for that extra edge.
 The essential elements of a home voice over studio
#1 Computer
You’re home studio begins with a computer. Audio software and audio recording, used to destroy computers, but these days the strain on computers is less. That means most decent computers can handle audio recording without much issue.
If you start getting into big production and working with lots of plugins and effects you may need an upgrade.
I have being using a Mac Book Pro for the last 5 years and it works really well. I prefer Macs, as they typically run smoother for audio work. They are also the only real option if you are using Logic (A DAW mentioned below), as well as certain interfaces (also mentioned below).
Tip: if you’re going to get serious about voice over, it’s worth having a dedicated, or semi dedicated, computer for audio. You don’t want a bunch of viruses slowing down and messing up your flow.
#2 DAW (Digital Work Station)
Once you have a computer you need a program to record your audio into. This is known as a digital work station. I go into the best DAW for voice over in another article but these are some of the most commonly used (in order of price).
A. Reaper. Many voice over artists swear by this very affordable voice over editing software. It’s simple to use, affordable and is basically built for voice over.
B. Adobe Audition. This is a much loved audio editing program, especially for those already editing video on Premiere Pro. Again it’s user friendly, reliable and a powerful DAW with plenty of built in plugins to get you started.
C. Logic. You don’t hear much about Logic in the voice over game, but Logic is a great DAW and super easy to use, especially for Mac lovers. It could be a great choice, if you dabble in music as well. I recommend avoiding Garage Band, the baby brother of Logic, altogether. Though you could get away with it for voice over, I’m just not a fan.
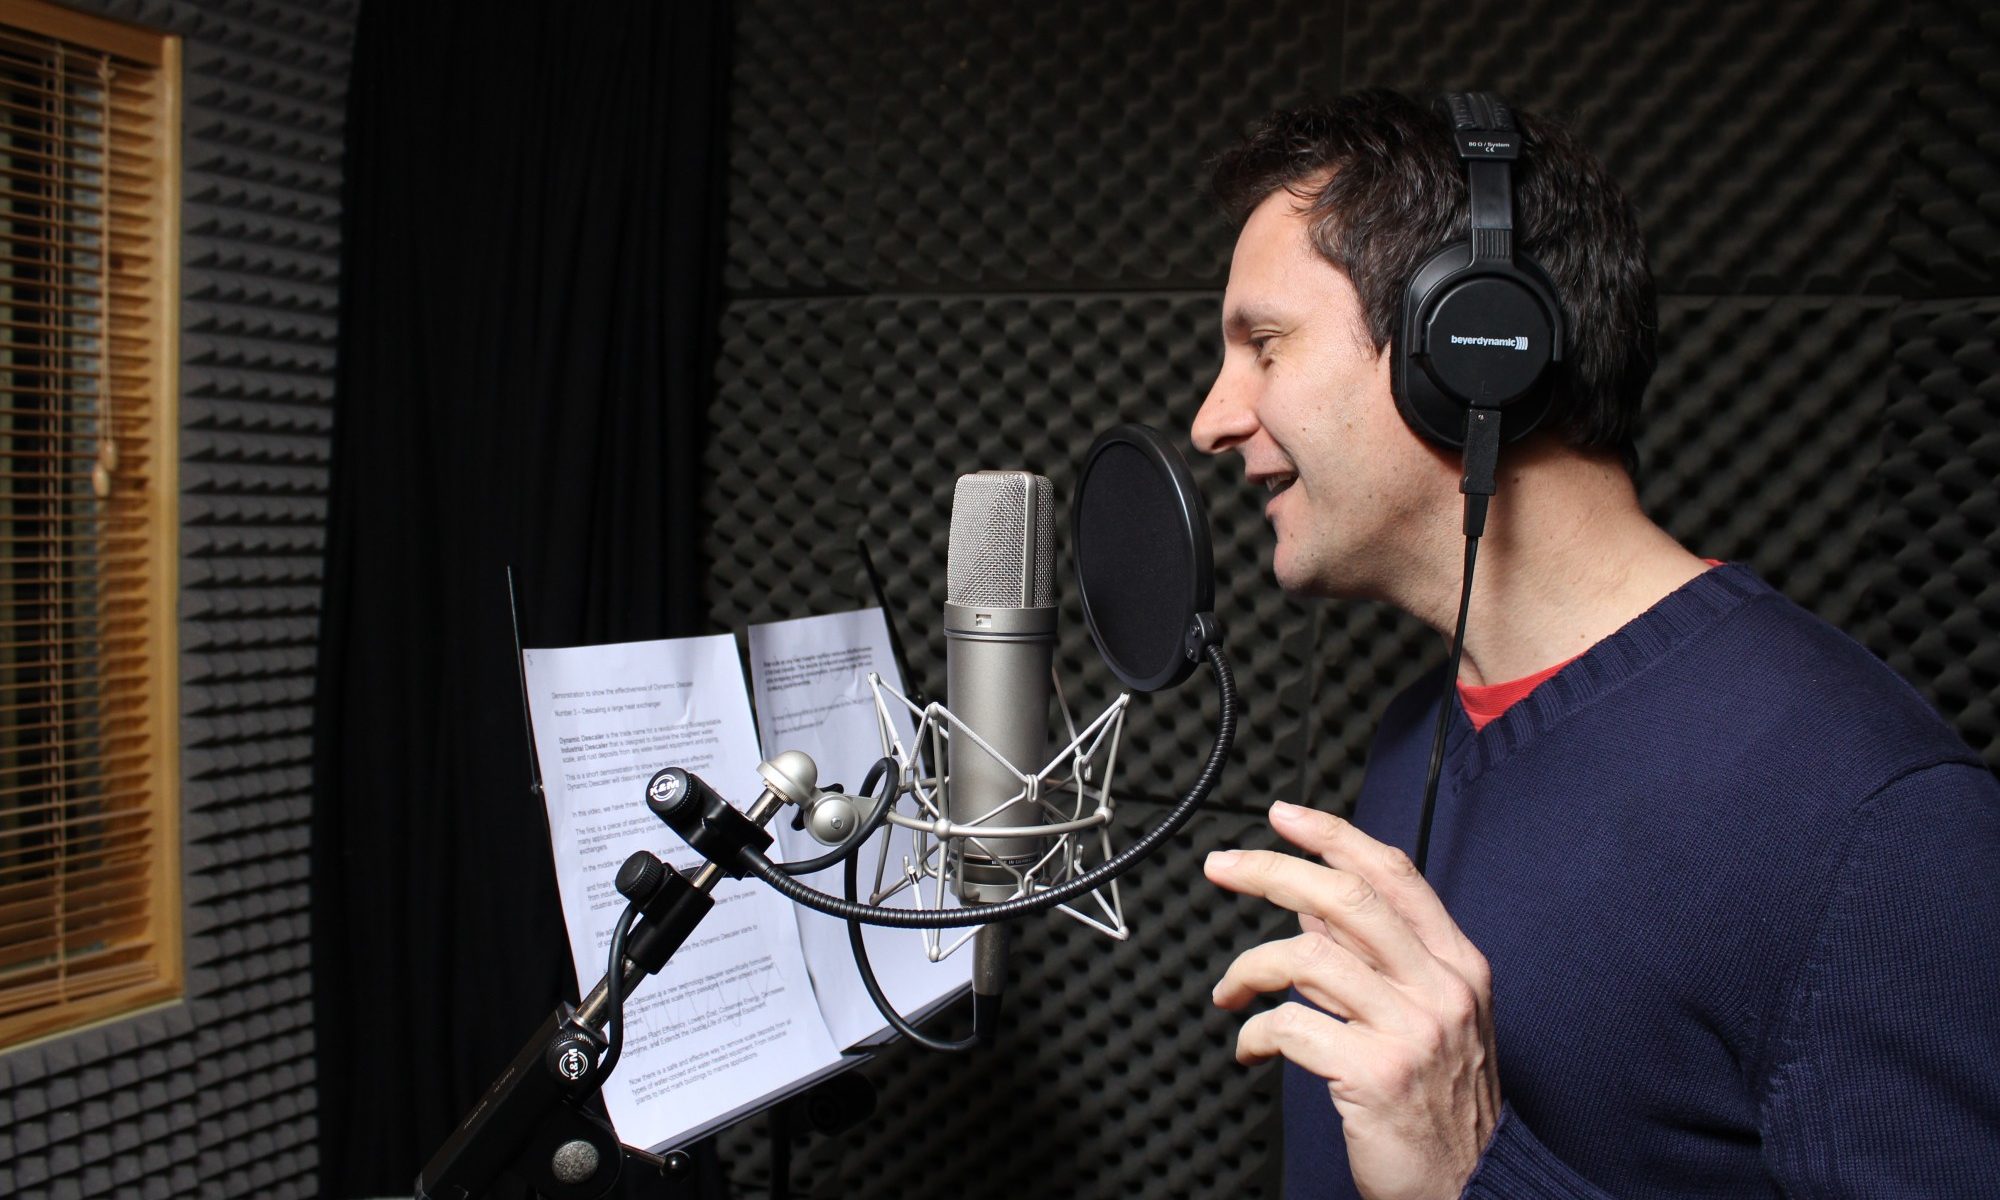
D. Pro Tools. Known as the industry standard in all audio production, Pro Tools is a a great DAW. It’s the program I use, and have been using for many years. Pro Tools is however expensive and can take some time getting used to. If you’re interested in production learning Pro Tools early could be a great investment, but it might be easier to on Reaper, or one of the more affordable programs.
Here’s the main man himself working on Pro Tools:
Tip: often your audio interface will come with free audio editing software. Sometimes it’s worth starting on these, and upgrading later. They are usually more than fine for voice over.
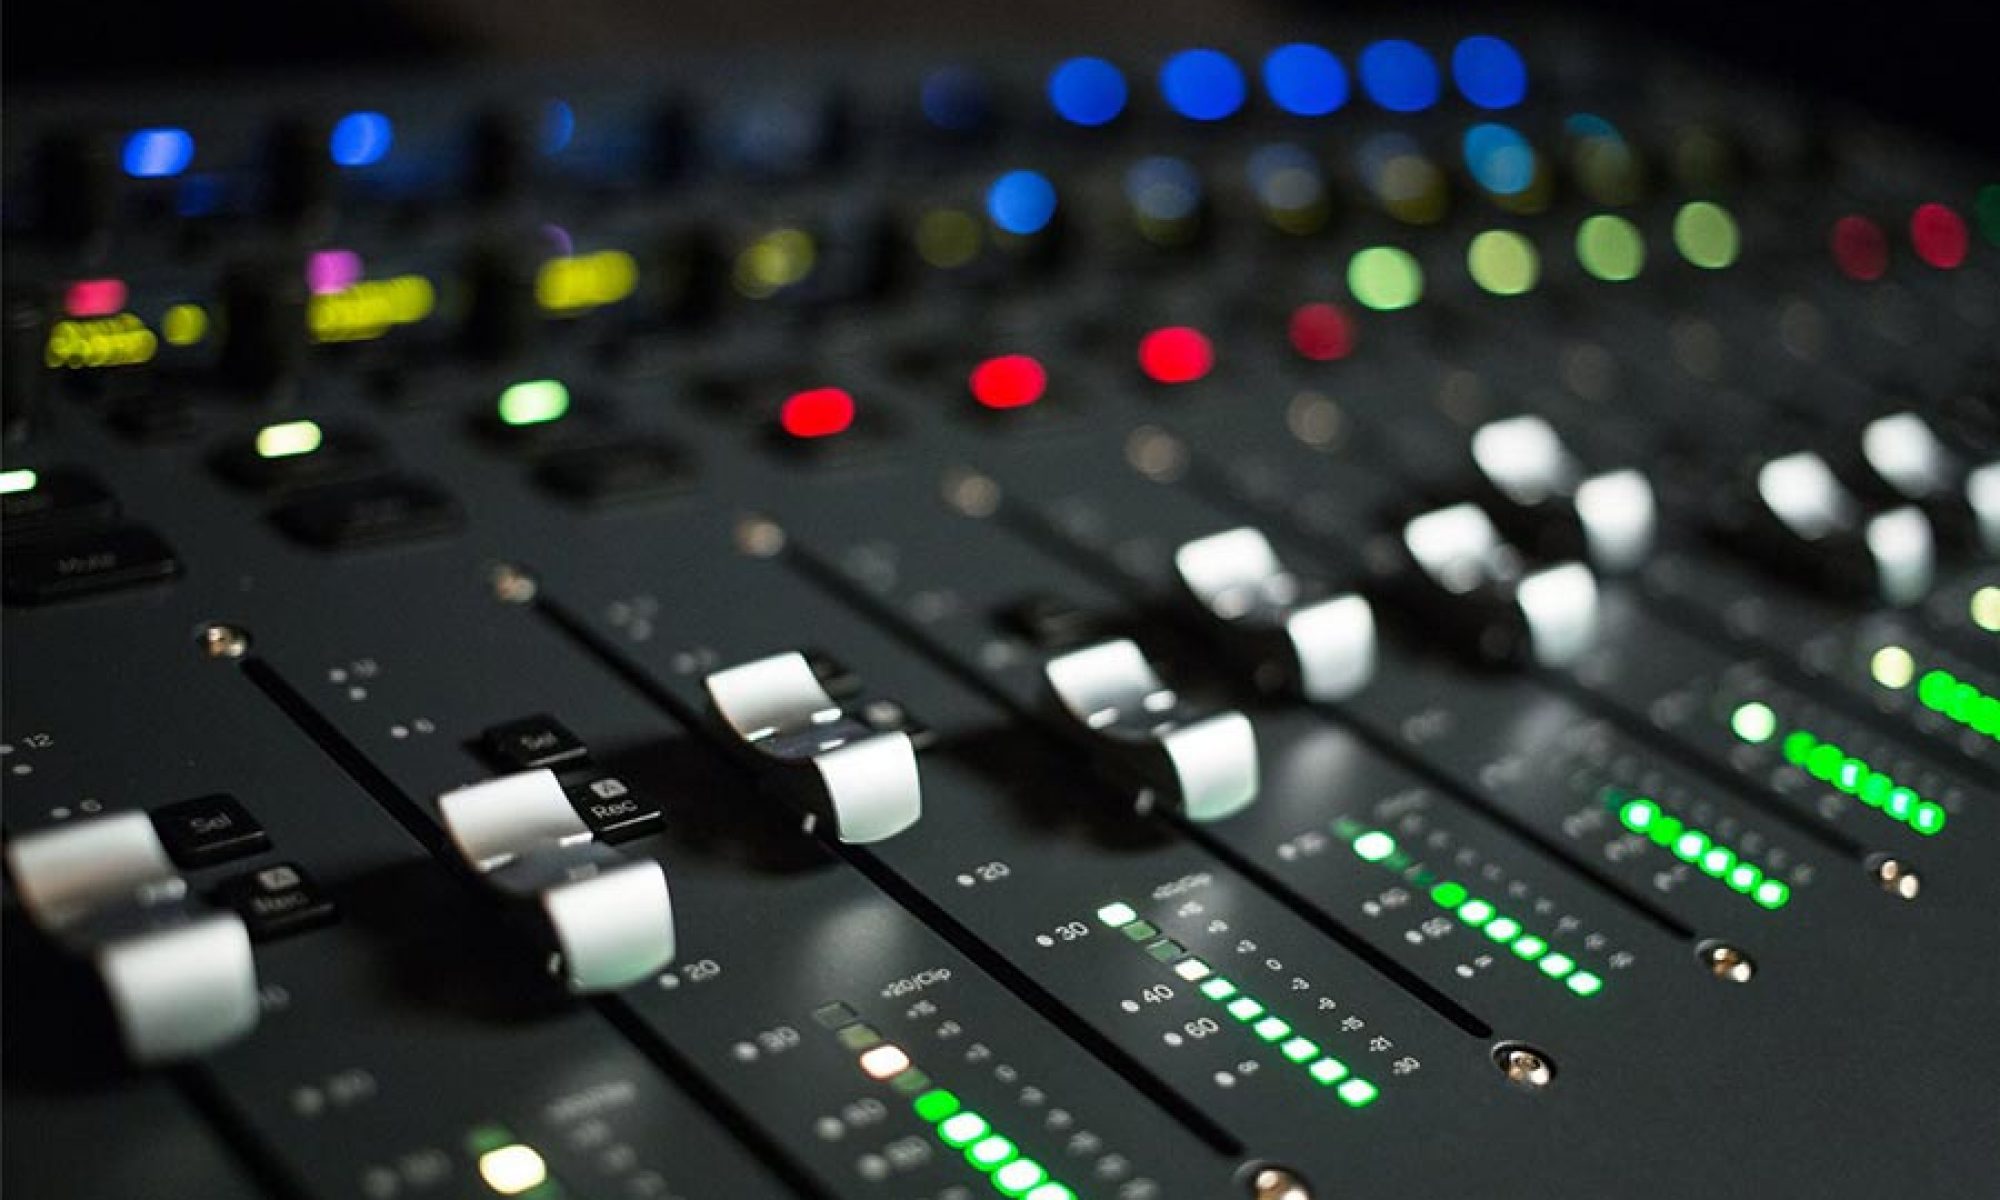
#3 Audio Interface
To be able to get your audio into a computer you need an audio interface. An interface converts the analog signal of a microphone or instrument DI into a digital signal. Having a quality interface with great analog to digital converters is vital for a great voice over recording.
Audio interfaces also have microphone pre amps which allow your microphone to be heard with clarity. Man of the stock preamps are more than adequate for a basic home setup.
I discus in more detail my favourite audio interfaces for voice over in another blog post, but here are some great go to interfaces to take a look at:
Note: as most voice over recordings are one mic, recorded in isolation, you don’t need to buy an interface with multiple mic inputs. This means you can focus on sound quality without spending a fortune on multiple channels.
#Option 1 Focusrite Scarlett 2i2 USB Audio Interface
This is one of the most commonly used interfaces for voice over. Focusrite are a trusted brand in audio, and this affordbale unit is fantastic. Clear mic preamps and everything you need to get started on your voice over work.
I’ve seen studios use this with very expensive microphones and not even use a mic pre amp (mentioned later) as the quality of this interface is enough.
#Option 2 Apogee Duet
Apogee is one of the most trusted brands in audio. They are especially well known for their analog to digital conversion and pristine mic preamps which are perfect for voice over. If you want to take your studio to the next step this is a great option.
This is the interface I’ve used for many years and I can’t recommend highly enough.
Note: Duets use break out cables which can be quite messy, this is my main issue with the unit. If you are looking for a slick product, and can afford it, the Apogee Quartet is an awesome purchase.
#Option 3 Universal Audio Apollo Twin
This is an incredible interface. Many project studios use this, and even professional recording studios. It’s a two channel interface, but can be expanded to have several more inputs.
This interface also gets you into the Universal Audio plugin world. UA plugins have a reputation as one of the best in the game. This means you can add beautiful compression and EQ to your tracks without having to buy additional plugins or hardware.
This would be the interface I would recommend if you can afford it. Beautiful piece of gear that will serve you for many years.
 #4 Microphone
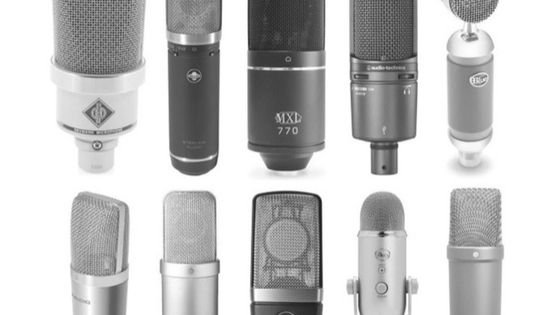
Your microphone will be the cornerstone of your studio. It’s the most important part of the home setup in most cases. When you are searching for a voice over mic you are looking for a few elements: clean and clear tone, low self noise (the noise all microphones emit), and body and warmth – particularly for male voice over.
I recently added an article on the best mircophones for voice over. It’s definitely worth checking out. In that article I mention the main different types of microphone for voice over: shotgun, condenser, and dynamic and which ones I would recommend for your budget.
If you have a reasonably well treated space I recommend investing in a great condenser mic, these are the most versatile and the place most new voice over actors start.
The most affordable would be the Rode NT1. This is brilliant microphone with very low self noise. After that I would jump up to either one of the bigger brothers such as the rode NTK or K2. The next step up would be the popular Neumann TLM 103.
If you want to go all out the two most converted microphones are the Neumann U87 and the Sennheiser MK 416.
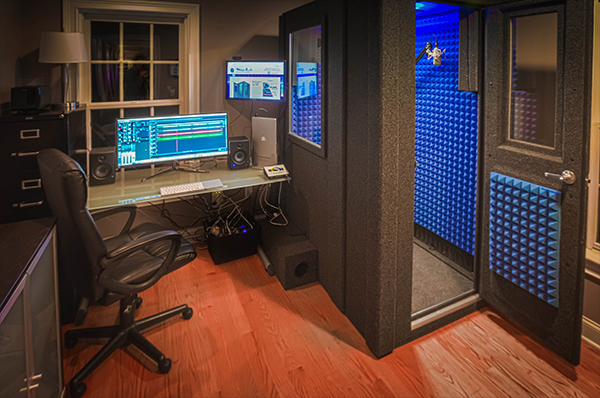
# 5 Room Treatment
Like most audio engineers I’ve always been obsessed with buying gear. And especially microphones. But what most people skimp on, myself included, is acoustic treatment.
Creating a dead space. With voice over you want an extremely quiet space for your recording. You also want that space to be as dead as possible. By that I mean the reflections of sound in your space are at a minimum.
Sound travels. It bounces off walls and reflects. Big spaces with hard walls are the worse. That’s why recording a voice over in a cathedral would be a nightmare.
First of all picking a quiet room in your house is essential. Road noise, local kids in parks, birds, all these are very hard to remove from audio. The next step is to start absorbing some of the sound. Heavy blankets, acoustic panels, there are plenty of ways to do it, but you have to get serious about room treatment.
I will get an article up shortly on treating your home studio, but aim to make your space as dead as possible.
Next level voice over studio…
#6 Microphone Pre Amps
You can definitely be working as a voice over artist and making money without getting a designated microphone preamp. If you’re using a great audio interface such as the Apogee Duet, and a good mic, you will already be producing some great quality audio.
However, if you want to take your home set up to the next level, a designated preamp will give your mic, and your recordings, that buttery, rich texture that you just can’t produce with an interface preamp.
Read: best mic preamps for voice over.
#7 Compression and EQ
All the DAWs mentioned above have compressors and EQs as standard in their software. However, compression and EQ as external units can take your recordings to that next level.
Most audio engineers will talk with excitement about analog gear being far superior to digital. And I have to say they are mostly right. If you can get a great compressor and EQ on the way in, it will give your vocal recordings that spark.
One option is to buy a channel strip, this is usually a mic preamp, compressor and EQ in one. They cost a bucket load, but once you’ve got it, it should last you for many many years.
Conclusion
I hope there was some valuable information in there for you. Setting up a home studio is great fun, and a bit addictive. Remember that with any recording, even at Abbey Road Studios, the most important thing is the content – the source. You could easily make a great voice over recording with basic gear if the voice you’re working with is dynamic, resonant and engaging.
Make sure you are well warmed up and practicing your craft on the daily. Having a resonant and articulate voice is what will really make your voice overs sparkle.